Wall mural prints can really brighten up a space and change the entire mood of a room.
At Fluorescent Gallery, we’re pleased to offer high-resolution photographs for purchase as wall mural prints and lightbox displays. Our offered images require many photographs and numerous hours of editing to flawlessly stitch them together. The result is a beautiful wall mural, with a high level of close-up detail, that will completely transform your room.
Once you’ve chosen an image, all that’s left to do is order it, wait for it to be shipped, and install it!
It may seem daunting to install a mural yourself, but it’s fairly easy if you follow these four basic steps:
Step 1: Wall Prep
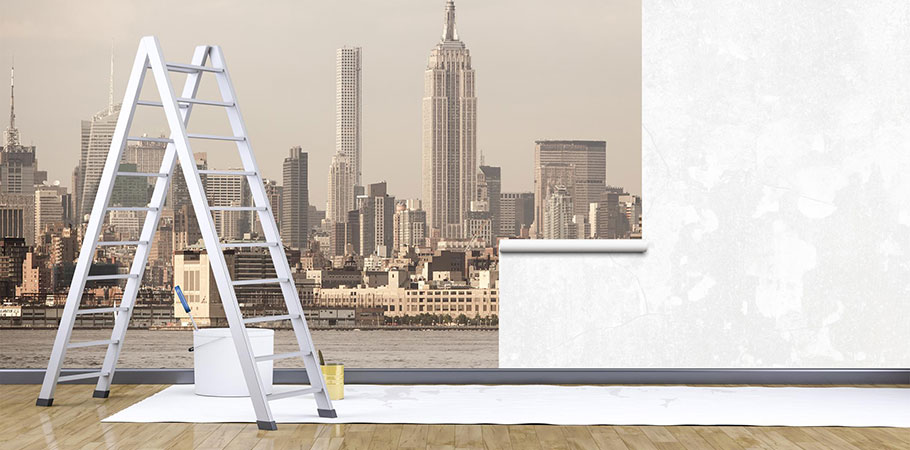
Start by making sure your wall is clean and ready for installation. This is crucial to your success, so don’t skip this step. Wipe the wall down to clean off any cobwebs, dust or other debris. Repair any holes or other defects and scrape off any excess paint or rough bumps.
Pro tip: If you have walls that are in poor condition, we recommend choosing a textured paper or matte laminate self-stick to hide the flaws.
Also be sure to remove any outlet or light switch covers, nails, hooks, and other obstructions from the wall.
Step 2: Get Organized
If the size of the mural and the size of the wall are slightly different, it’s important to measure your wall to get the panels evenly placed. Laying out your panels in order from left to right can help avoid any mishaps.
Step 3: Install the Panels
Ideally, if you aren’t a professional installer, it’s helpful to have an extra person lend a hand. That person’s primary job is simply to hold the panels while you put them in place.
Start with the top left and slowly work your way down to the bottom of the panel, only peeling off a few inches at a time. DO NOT peel off the entire back at once. Smooth the panel, working out any wrinkles or bubbles as you go down the wall.
Step 4: Trim
If the panel is covering any outlets, windows or doors, trim around these using a sharp blade (such as an X-ACTO knife). Also, be sure to trim any overage once you get all the panels of the wall mural installed.
Repeat the same installation steps (3 and 4) for all additional panels.
To get a better idea of how wall mural installation is done like a pro, check out our 29-second time-lapse video:
At Fluorescent Gallery, we strive for excellence in quality and special attention to detail. It’s important to us that your wall mural looks its best, so please contact us with any installation questions.