Learn the steps that go into professionally installing a Fluorescent Gallery wall mural
Wall mural prints can really brighten up a space and change the entire mood of a room.
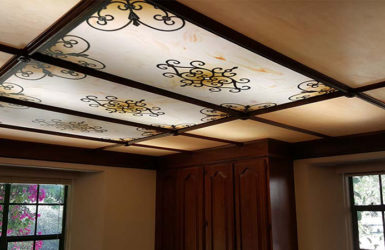
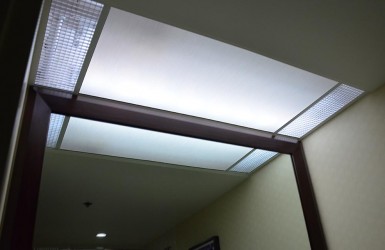
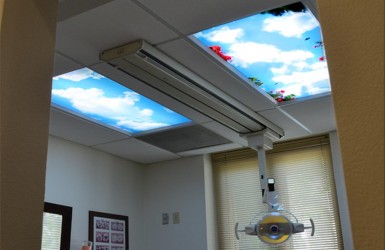
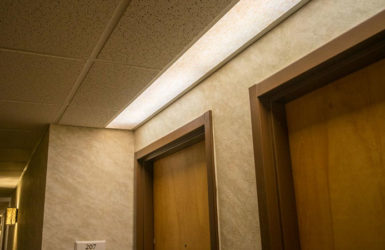
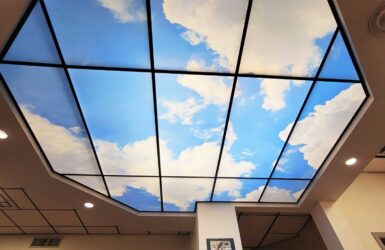
At Fluorescent Gallery, we’re pleased to offer high resolution photographs for purchase as wall mural prints and light box displays. Our offered images require many photographs and many hours of editing to flawlessly stitch everything together. The result is a beautiful wall mural with a high level of close-up detail that will completely transform your room.
Once you’ve chosen an image, all that’s left to do is order it, wait for it to arrive, and have it installed.
It may be feasible for you to install a small wall mural, but attempting a full size project might be beyond your skill level, especially if you don’t have the proper equipment. There are several factors such as wall squareness, levelling, surface conditions and such that will prove to be a challenging experience. We recommend hiring a professional installer.
Below we’ll explain the four steps involved in installation and why it’s more difficult than you may think.
Step 1: Wall Prep
Before installation begins, there are a lot of factors about the wall itself that can make installing a wall mural successful or not. Prepping a wall correctly isn’t easy, especially if your walls have a lot of imperfections, but a professional can use special techniques to hide or fix more of those imperfections to make your wall mural look flawless.
The first step in wall mural installation is making sure the wall is clean and ready for installation. This is crucial to the success of the wall mural and will make it much easier to remove the mural should you decide to in the future.
The wall needs to be wiped down to clean off any cobwebs, dust or other debris. If there’s dirt or grease on the wall, it will need to be washed down with a mild detergent or cleaner.
Any nail holes or other defects in the wall will need to be repaired and any excess paint or rough bumps should be scraped off. You should never install a wall mural on raw sheetrock or any other unpainted surface. In fact, it’s a good idea to put a fresh coat of paint on the wall 7-10 days before the mural is installed.
Pro Tip If you have walls that are in poor condition, we recommend choosing a textured paper or matte laminate self-stick to help hide the flaws.
Also, be sure to remove any outlet or light switch covers, nails, hooks, and other obstructions from the wall.
Step 2: Organizing and Measuring
If the size of the mural and the size of the wall are slightly different, it’s important to measure the wall to make sure the panels are evenly placed. It’s very common for the panels to get misaligned, which can have disastrous results. A professional mural installer uses special tools, including a laser level, that prevent this from happening. It takes a lot of skill and practice to install murals perfectly.
Pro Tip A laser level is a must for getting the strips placed straight up and down. Without this, the entire installation could be high or low on one end, likely causing one or more corners to be exposed.
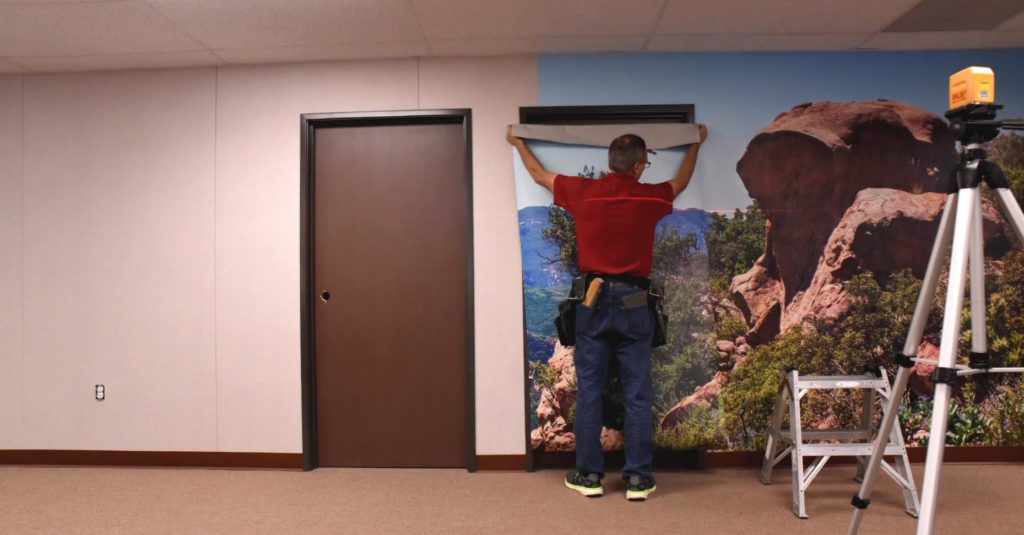
Step 3: Install the Panels
Wall mural installation generally takes about three to four hours if a professional does it for you. If you attempt to DIY, it can turn into an all-day project.
There are two main options for wallpaper types: permanent with paste and self-stick (also called self-adhesive or pre-pasted). Some professionals prefer traditional permanent wallpaper with separate paste because it lasts longer than self-stick and you can control the amount of paste that’s applied.
Self-stick wallpaper is a better solution if you are likely to change the room decor later. Fluorescent Gallery offers several types of traditional wallpaper and self-stick options to accommodate a variety of requirements.
A professional will install one panel at a time, working from one end to the other. They move slowly down the wall, smoothing the wallpaper as they go with special tools to avoid bubbles, wrinkles, and holes.
Pro Tip When installing a wall mural, allow several inches of overlap on all sides to accommodate non-square walls.
Step 4: Trim
If the panel is covering any outlets, windows or doors, the mural will need to be carefully and precisely trimmed around these obstacles using a sharp blade (such as an X-ACTO knife). A professional will also trim the overage left on the sides once all the panels are installed.
If you’ve ever tried to trim wallpaper, you know it’s not as easy as it sounds. Wallpaper tears easily and cutting perfectly straight takes practice. A professional pays close attention to detail and has the skills need to trim the wall mural perfectly.
Conclusion
For a quick look how a wall mural installation is done by a pro, check out our 29-second time lapse video:
At Fluorescent Gallery, we strive for excellent in quality and special attention to detail. After purchasing your wall mural, we will select the best crop and resize option, and send you a preview image for approval. Individual sheets will be set up with an overlap of 1 inch to facilitate either a double cut or simple overlap.
For large murals, we recommend using a professional installer. The Wall Covering Association is quite useful for locating these resources. If your installation is in Southern California, we can provide you with some known installers upon request.